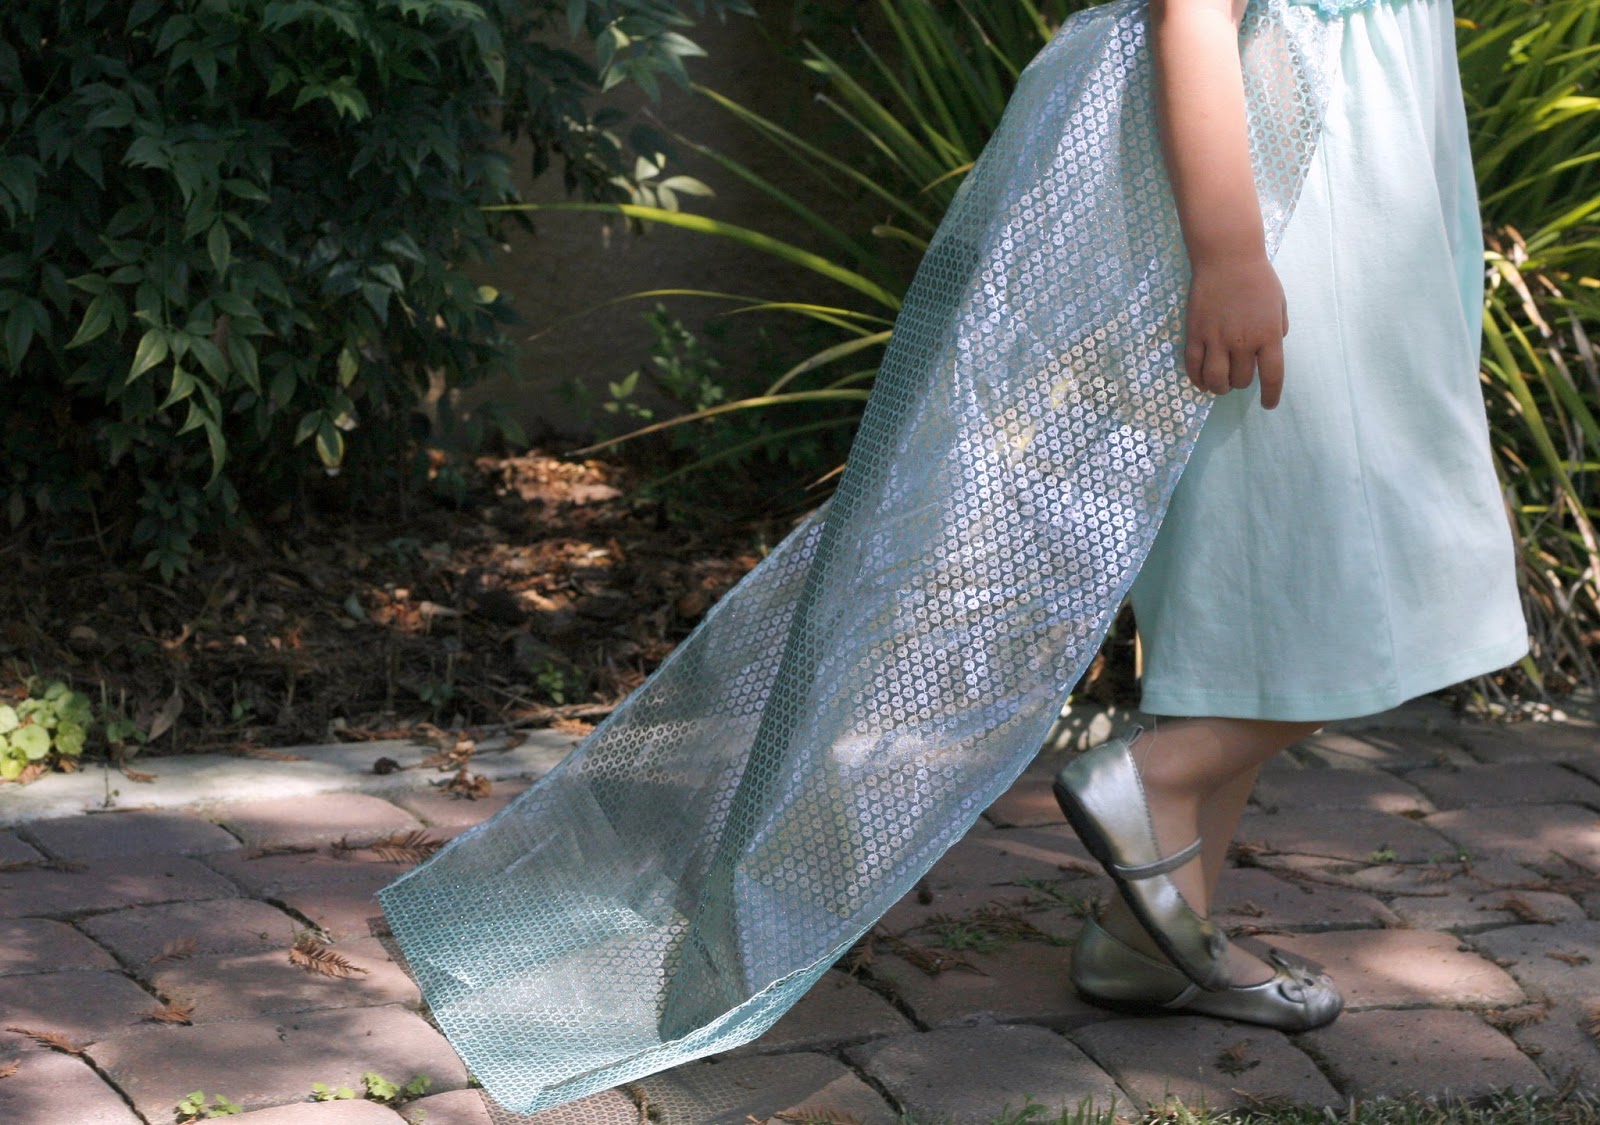
Just for fun, we tried making a Snow Queen dress with the two T-shirt method I first used to make Alice's Rapunzel gown.
I don't know if I like it quite as much as I liked the original Rapunzel version, but it came out all right, I think - Alice was really happy, anyway. Especially with the train.
The idea, again, is that the dress doesn't have to be an exact replica to be dress-up perfect. It just needs to be sort of the right color with a few of the right details. That's all an able make-believer needs.
I like that these dresses are inexpensive, easy to make and easy to get in and out of. And, this time, Alice got to help a little bit with the sewing, which was really fun too.
Here's what you need:
- A T-shirt sized to fit your child
- A T-shirt sized to fit an adult (I used a women's XL)
- Basic sewing supplies
- Embellishments - if you want to add Elsa's cape/train thing, try half a yard of tulle or something sparkly-shimmery. We found the material for ours in the remnant bin at the fabric store.
- Quarter-inch thick elastic
And here's what we did:
- First, cut across the child-sized shirt about an inch below where you'd like the waistline of the dress to be. For us, this was a couple of inches below the arm openings. That's your bodice.
- The adult-sized shirt will become the skirt. Decide how long you want it to be, then cut accordingly across the top of the shirt. For Alice's dress, I cut just under the arm openings.
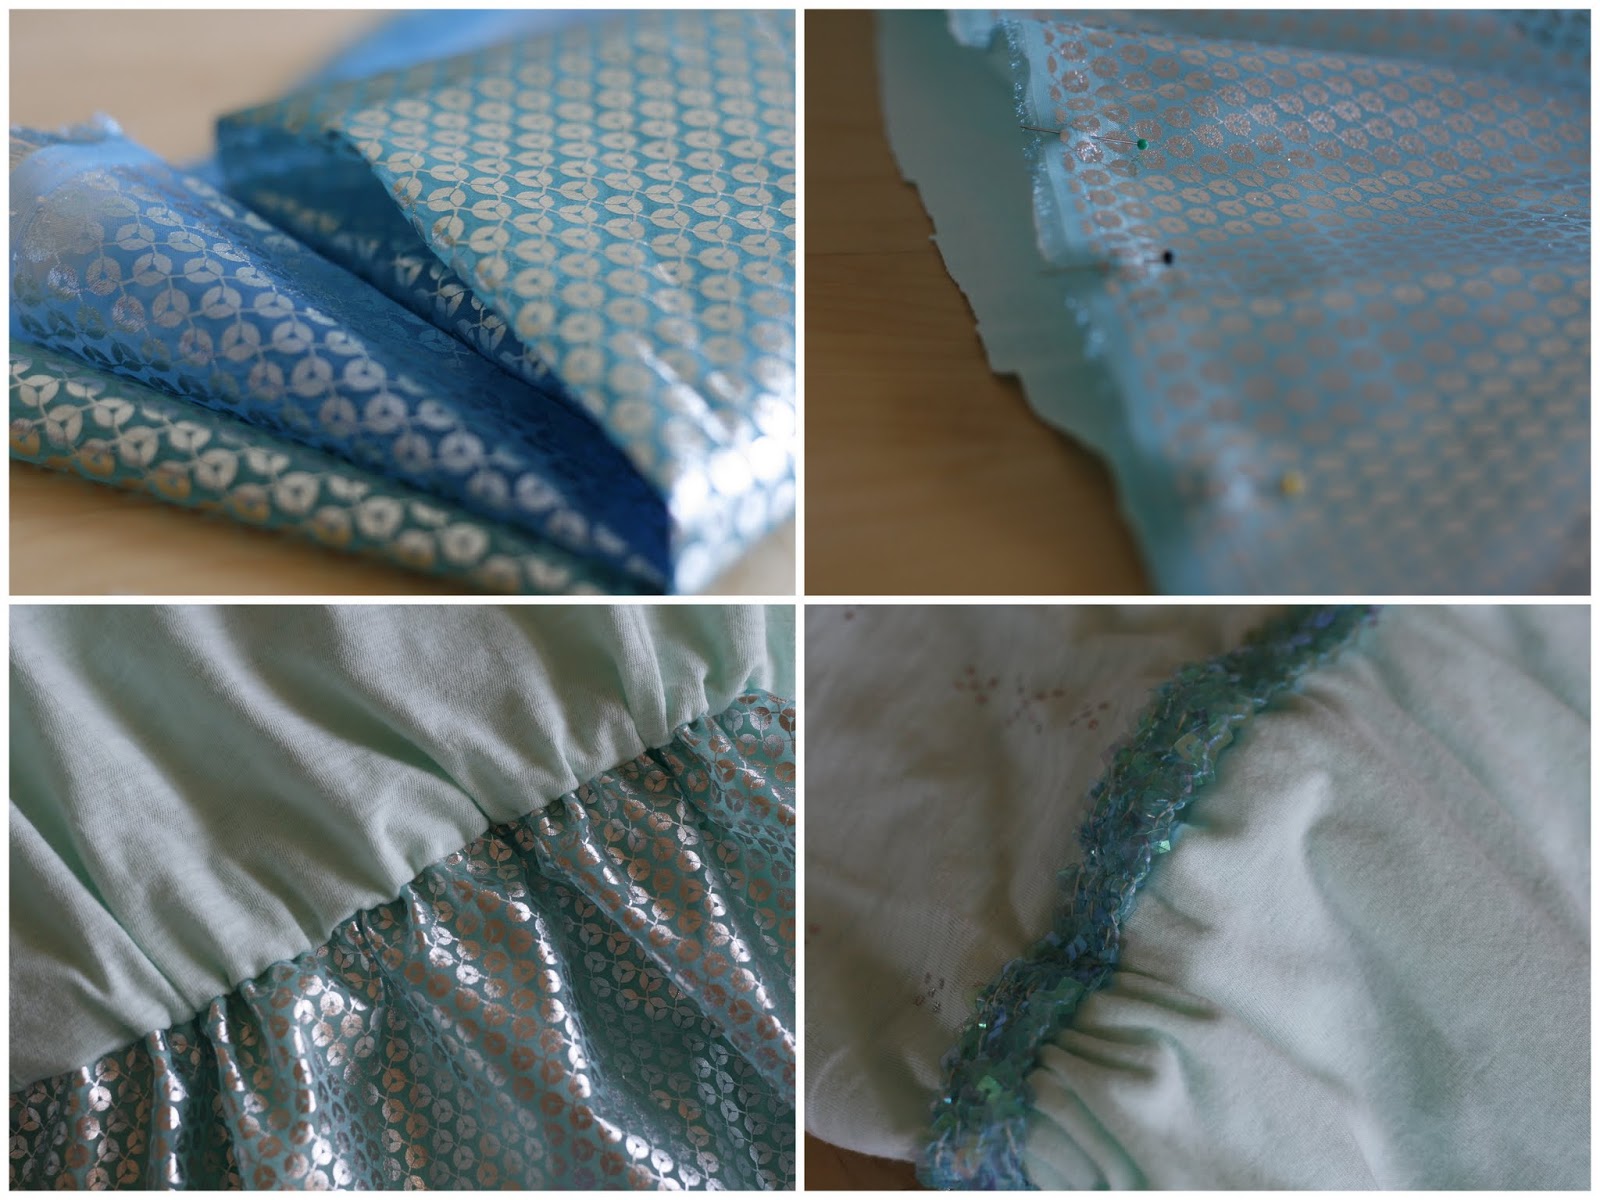
- Depending on the difference in width between your bodice and skirt pieces, you might need to gather the skirt a bit. If so, do that now. Then, if your dress is going to include the cape, pin that piece of fabric to the back of the skirt. (In retrospect, though, I kind of wish I had made the cape detachable, so something to consider). Finally, sew bodice and skirt together, right sides facing, with a one-inch seam allowance.
- Instead of trimming the excess fabric from the seam you just sewed, stitch another line within the seam allowance, about halfway between the original seam and the raw edge - you're creating a little casing for an elastic waistband to give the dress some shape. Don't sew all the way around this time - leave a 2-inch opening.
- Using some of your child's existing clothing as a guide - leggings work well - measure off a length of elastic. Attach a safety pin to one end and thread it through the casing you created. Sew the elastic ends together, then sew the opening shut.
That's it. The dress is mostly done. Now you get to add some details.
The child's shirt I bought for this project already had a silver foil print on it, which worked nicely. If it had been plain, I might have added some sequins or rhinestones or something. The material we used for the cape was also sparkly to begin with. So, all we really added was some square-shaped sequined trim that kind of called back to Elsa's ice dress in the movie.


